
| January 1, 2013 | Version 2 released | ZeeEdit version 2 is available. See the changelog for details. To update from version 1, proceed with the installation just like for a fresh install. |
| January 11, 2012 | Version 2 coming soon | ZeeEdit version 2 is in development. It will feature the formant sequence edition. |
| September 22, 2010 | Web site update | The english language snapshots are online... |
| September 20, 2010 | Compatibility | ZeeEdit is now tested on Windows XP, Windows 7 and even MacOSX via Fusion. |
| June 22, 2010 | Hello (english-speaking) world! | English translation of the web site |
| June 14, 2010 | Hello world! | Opening of the (french only) website First version of ZeeEdit-FS1R |
ZeeEdit-FS1R
What is it?
ZeeEdit-FS1R is a MIDI editor for the Yamaha FS1R synthesizer. It is a computer program which communicates with the device over MIDI: it enables the synthesizer parameters visualization and direct edition on your computer screen.
You should not edit anything on the device itself anymore. That's because the computer keeps the device state and memory content to avoid waiting times (cache memory). It must be the center point of any change. If you do some editing on the hardware, the computer will not be aware of it and displayed information may not be relevant anymore.
Main features
- Automatic synchronization of the editor with the hardware. Cache memory for instant patch loading.
- Simultaneous view/edition of all patch parameters on a laptop screen
- Patch settings saving to and loading from the computer memory. The files are saved in a standard format (sysex file). You can use them with other software
- Automatic finding and connection to the device.
- MIDI control surface integration. Several controllers and several keyboards may be used at the same time.
Advanced features
- Zoom feature for envelopes and other complex widgets (Ctrl + mouse wheel or Ctrl + Enter)

- Independant and unlimited undo/redo history for each panel (Ctrl + Z, Ctrl + Y)

- Copy/paste feature parameter sets. For example to copy an envelope to other operators (Ctrl + C, Ctrl + V)

- Widget multi-focus for simultaneous editing (Ctrl + click)

Requirements
- PC running windows XP or above (Also tested on Mac OSX with Fusion)
- Minimum screen resolution: 1366x768 (or 1280x800) pixels
- MIDI interface on the computer to connect the device
Installation
Download the installation program in the "Download" section. When the download is complete, run the installer (the downloaded program). During the installation process, you may have options to choose from. If you do not understand them, just keep their default settings.
Once the installation is complete, you will be able to test the interface and to save and load sysex files but the communication with the device will be disabled. For a full-featured software, you have to buy a license in the "Buy" section.
How to use it?
First you must connect the device to the computer using MIDI cables. You should find MIDI plugs on your computer sound card or you may use a USB MIDI interface for example. The connection must be bi-directional. A cable connects the computer MIDI OUT to the device MIDI IN and a second cable connects the computer MIDI IN to the device MIDI OUT.
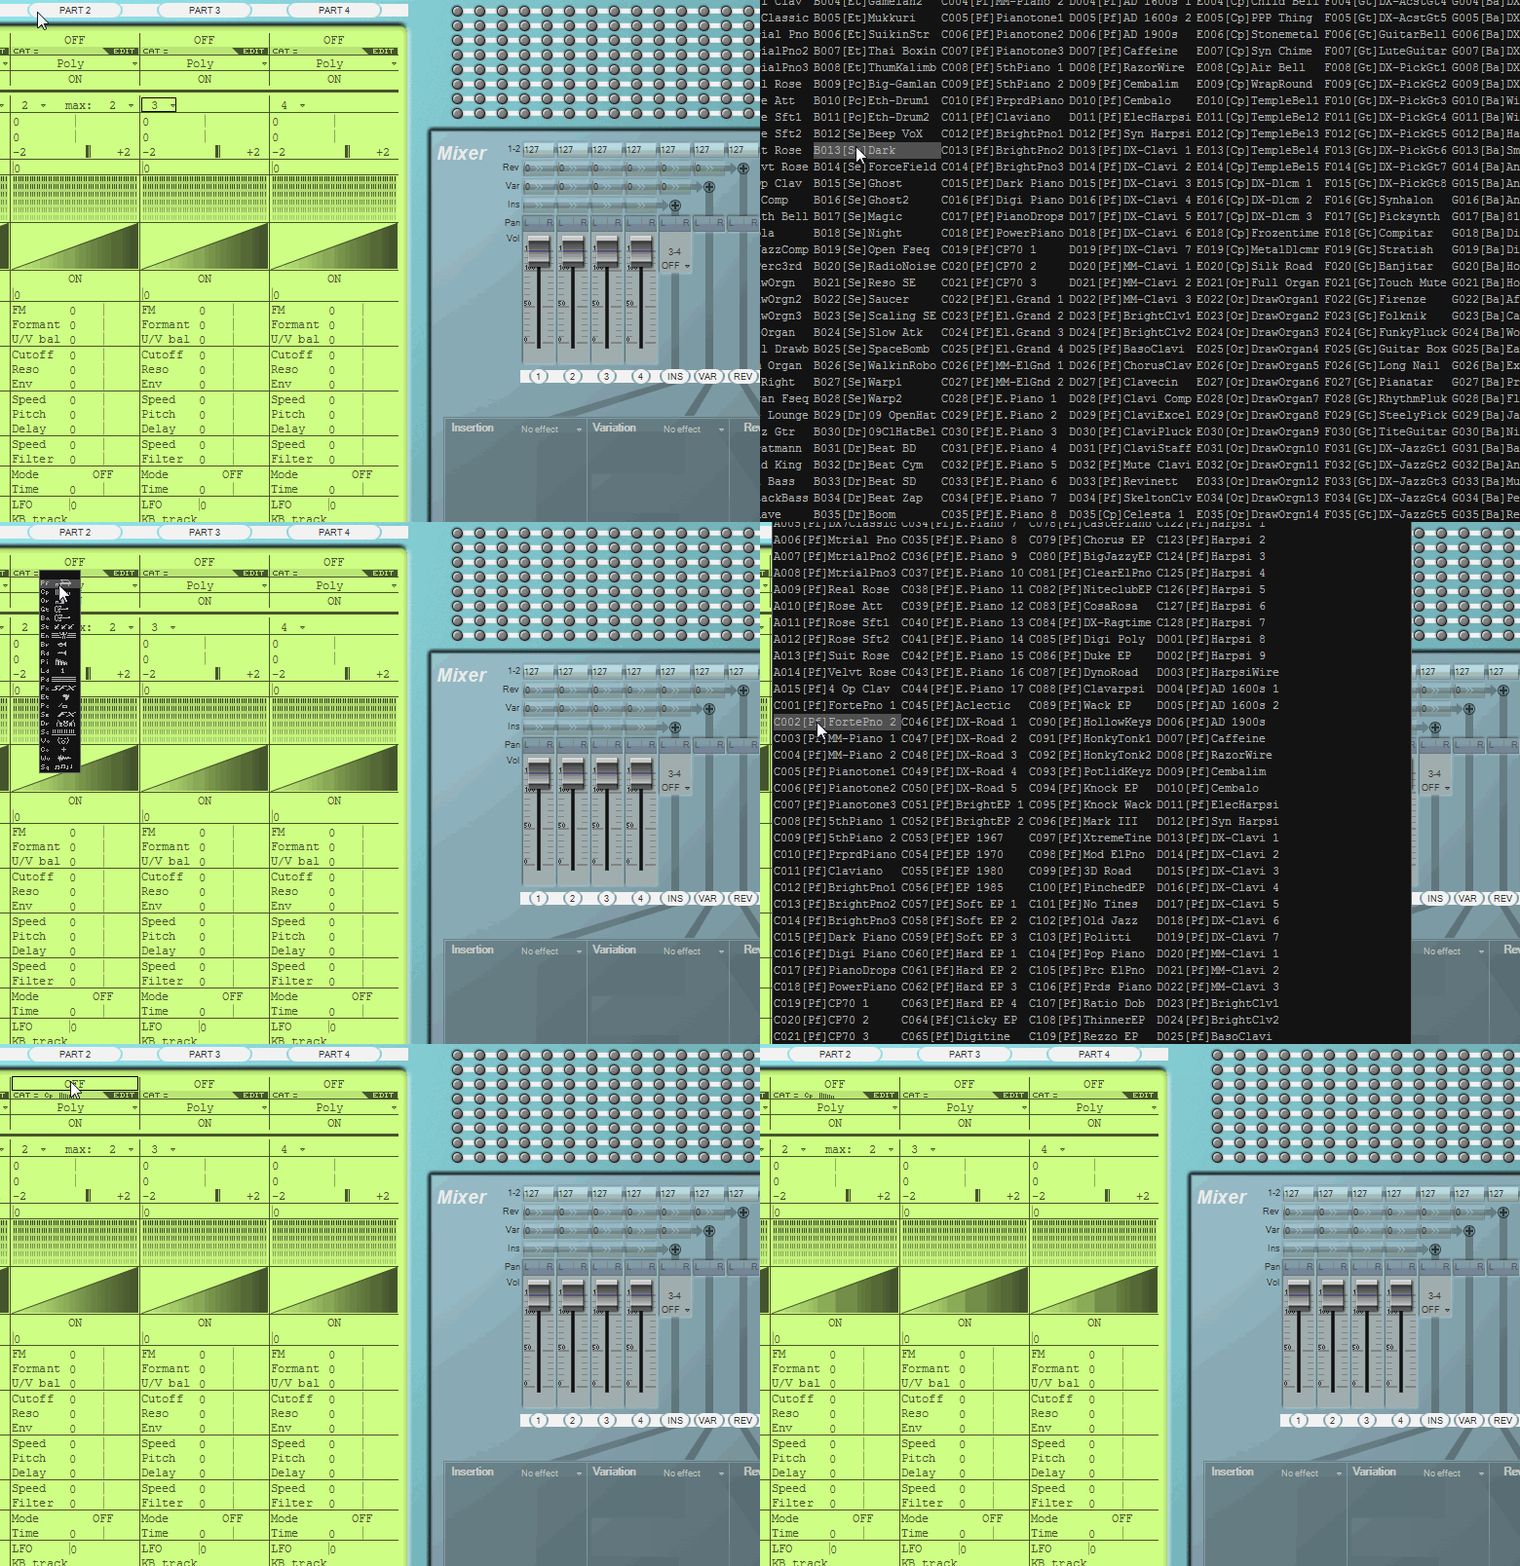
Then run the program. You will find a quick help page on the System panel. You can access this panel any time by pressing F1 on your computer keyboard. This help page is quite short to remain easy to read. You can see it on the screenshot.
Other examples
- Keyboard range and velocity setting

- Parameter modulation

- Envelope initialization using the mouse wheel button or Ctrl+I

- Filtering presets by category


